- Scissors
- Fabric glue
- Double sided tape – 50mm for big surfaces, 12mm for smaller areas.
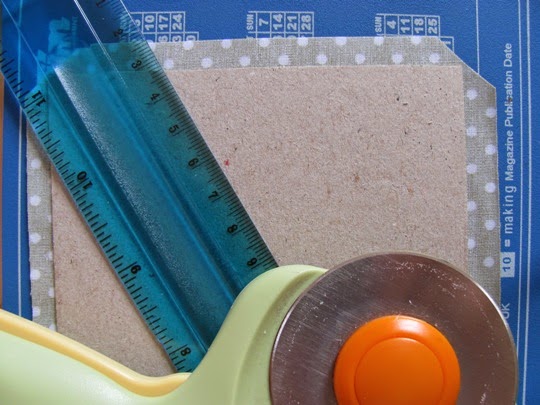
- Rotary cutter
- Cutting mat
- Ruler
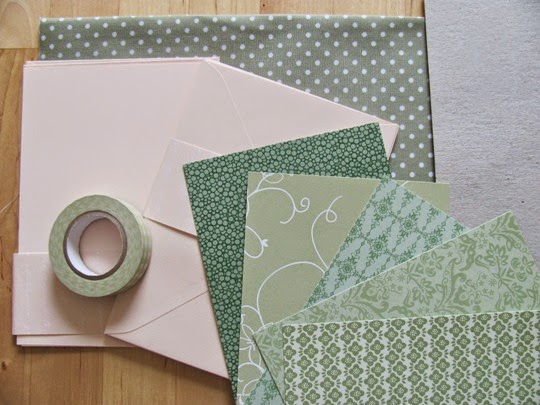
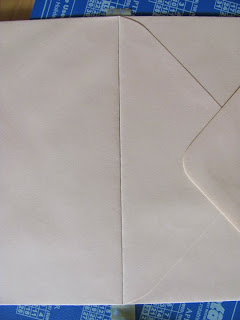
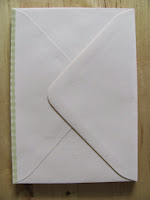
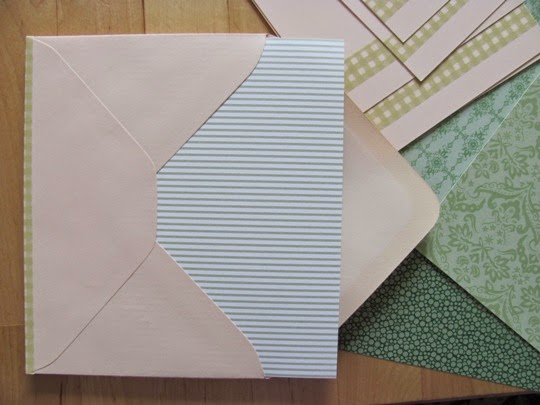
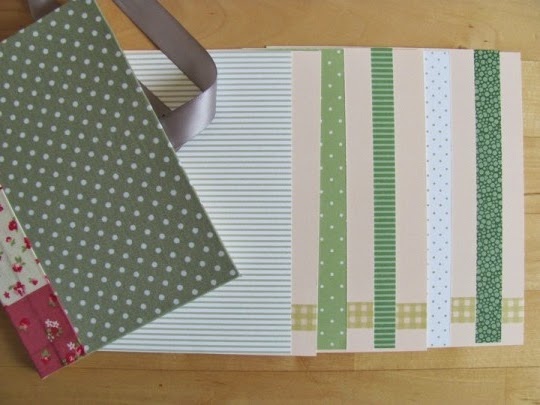
- 10 A6 envelopes
- 5 A6 correspondence cards
- 5 A6 patterned paper
- 13mm Washi tape
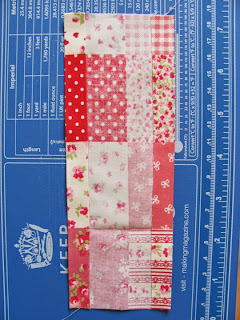
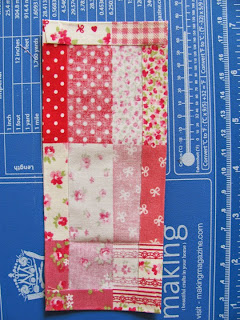
- 2 pieces of patterned fabric – approx. 175×130 mm each
- 1 piece of matching fabric – 70x152mm
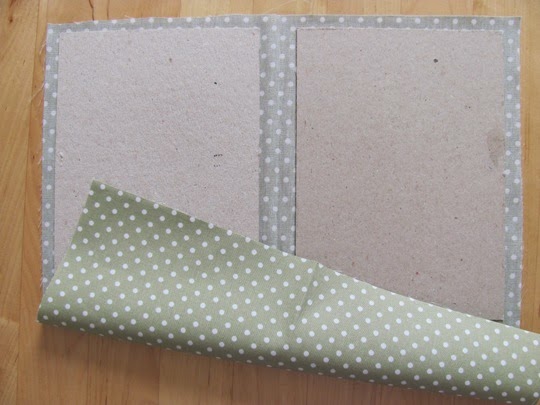
- 2 A6 sheets of cardboard
- 2 A6 (or slightly smaller) sheets of cardstock
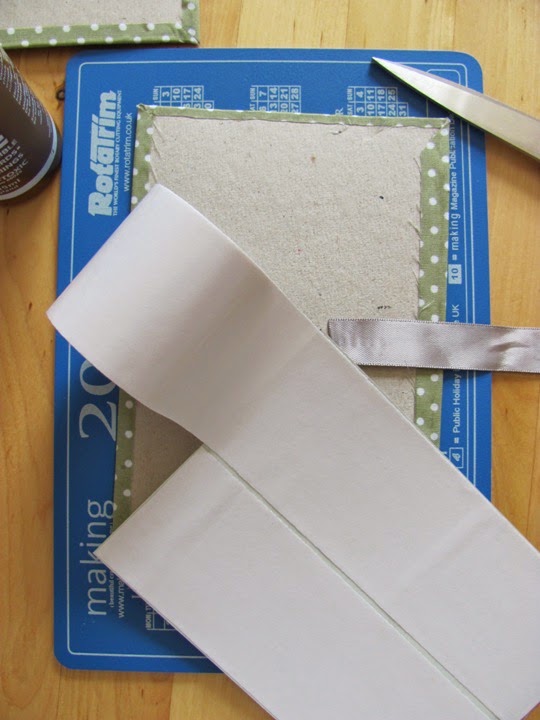
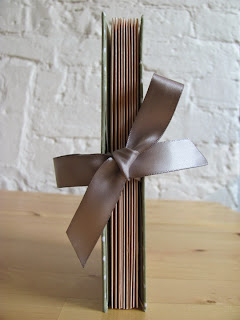
- 2 pieces of satin ribbon – approx. 15cm each
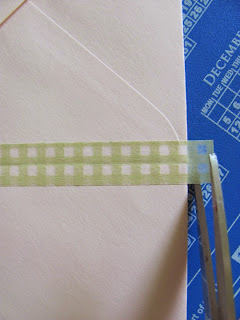


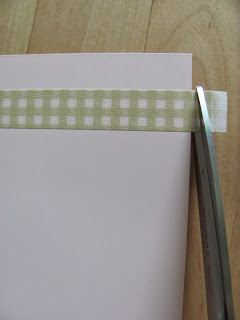
3. Add some matching washi tape to each of the plain correspondence cards. I put some on both sides and then trimmed the excess.
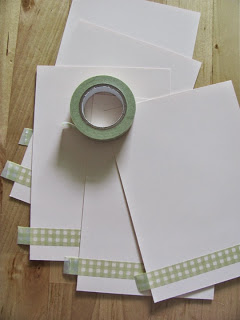
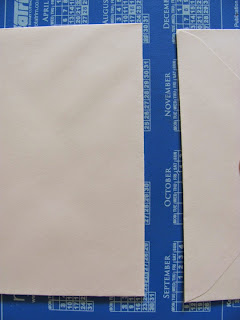
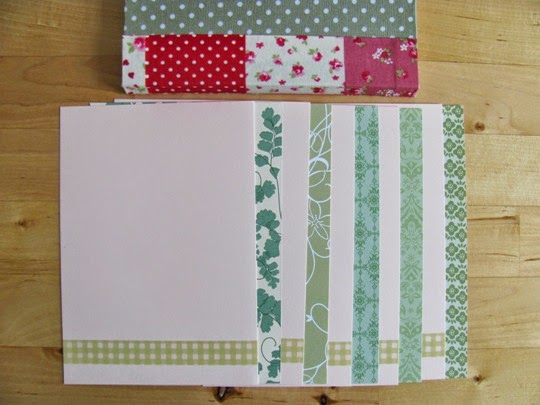
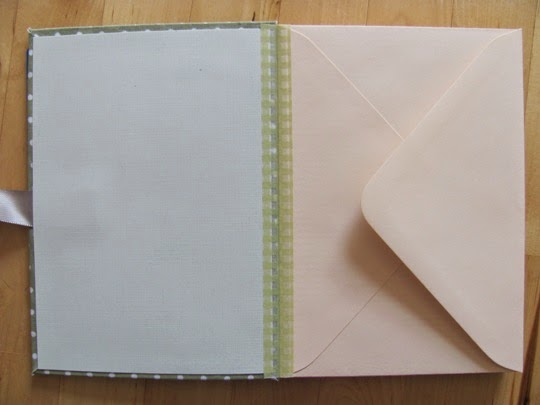
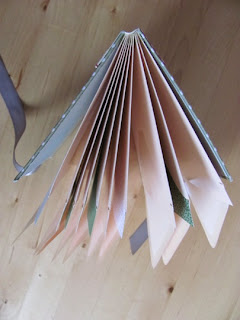
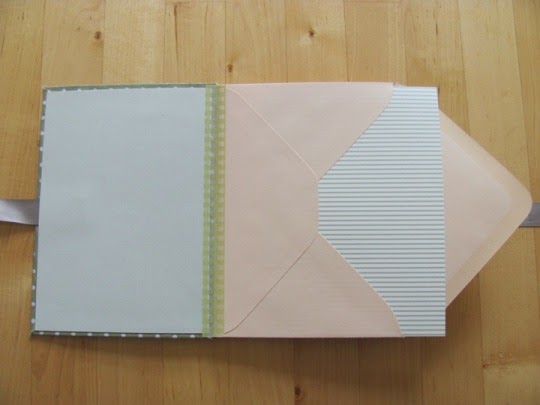
4. Fill each envelope with correspondence cards and patterned paper, alternatively.
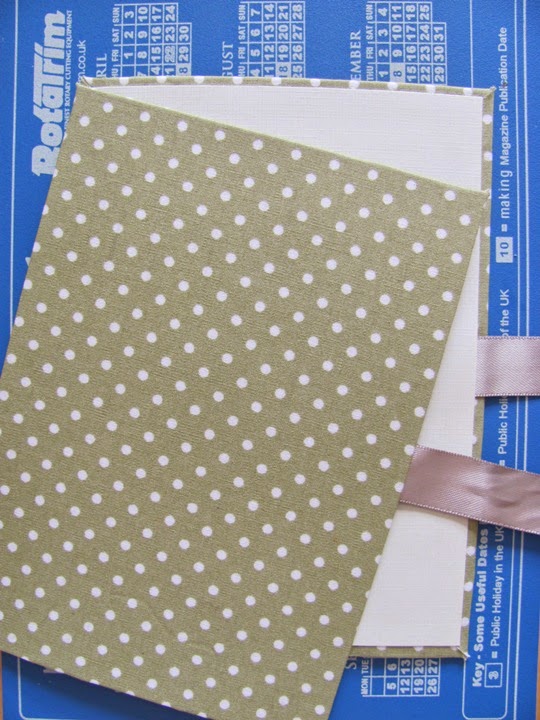
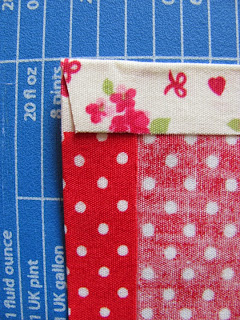
6. Cut the four corners Fold the corners (I learned this when it was already too late!), then fold the edges and glue them onto the cardstock (you can use double sided tape if it is easier).
7. Place one piece of satin ribbon on the long inner side of the cover, roughly in the centre (about 2cm in). You can use some double sided tape to keep it in place.
8. Lay the inner side of your cardboard sheet with double sided tape (I used the 50mm one) and gently place it on the inner side of the cover making sure it is somewhat centred. Now press.
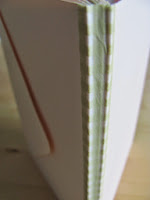
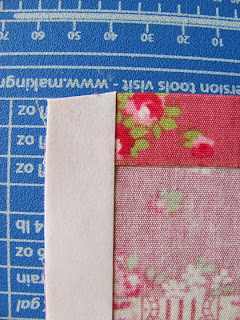
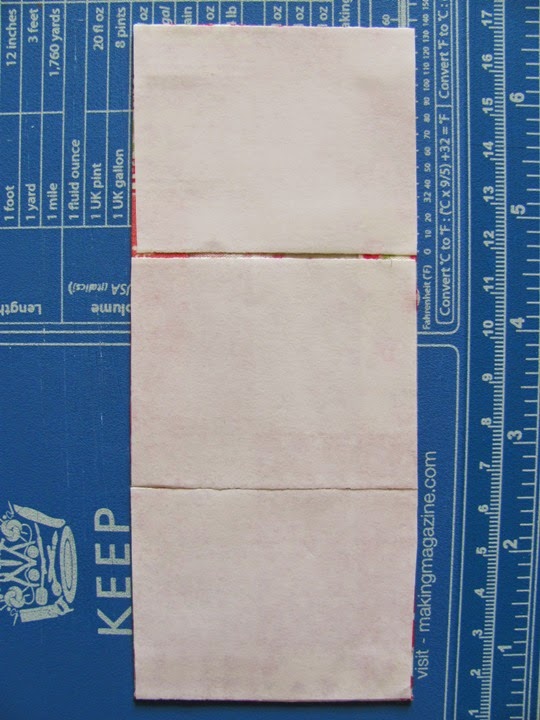
11. Measure the width and height of the spine. Cut a piece of fabric as shown in the picture below. This will need to cover the central spine and some of the front and back covers. For example, mine is approximately 1.5cm(back)+1.2cm(spine)+1.5cm(front). Remember to cut it a bit longer than the height of the book and a bit wider than the spine plus the front and back. I added about 1.2cm all around, which is the same width of my small double sided tape roll.
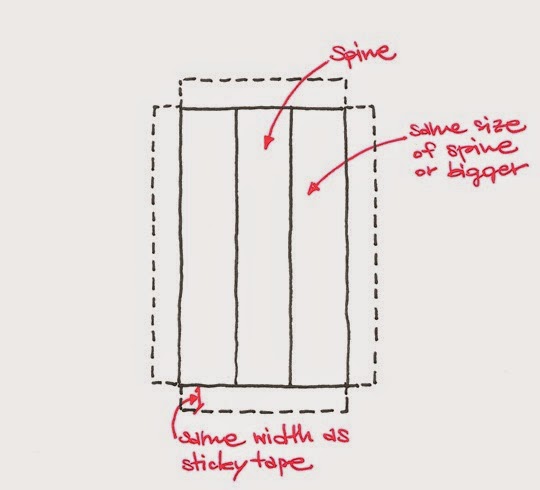
12. Lay the sticky tape on the extra fabric and fold it onto the inner side. Now the edges are secured and won’t fray.


14. Adhere to the edges of the covers. I used bulldog clips to keep the covers and inner pages together while attaching the spine cover.

Of course there may be better and easier ways to do this, but this is what worked for me.
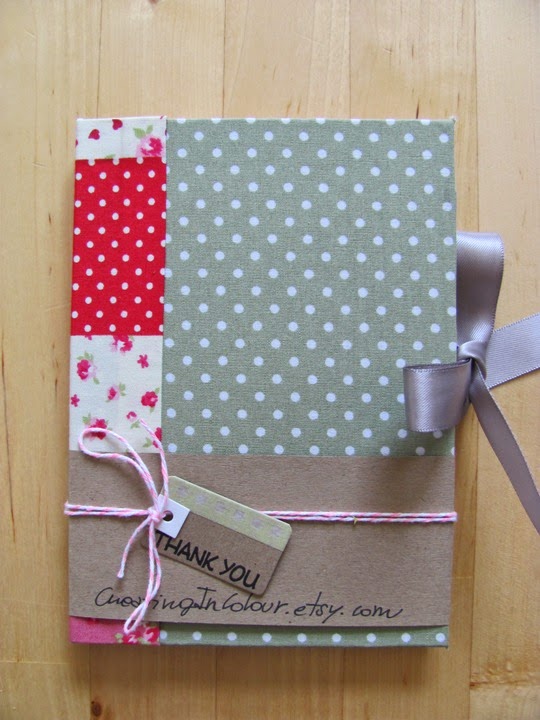
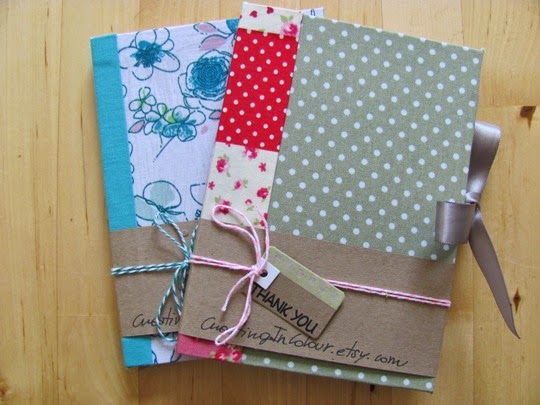
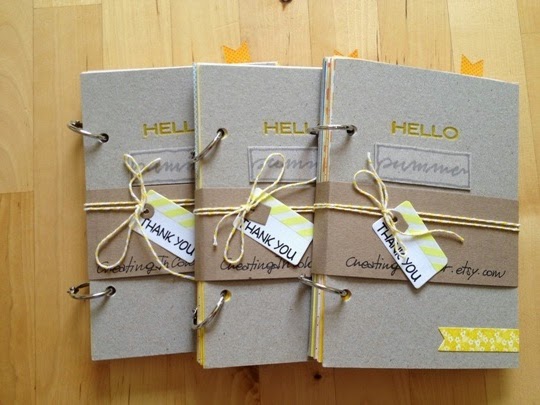
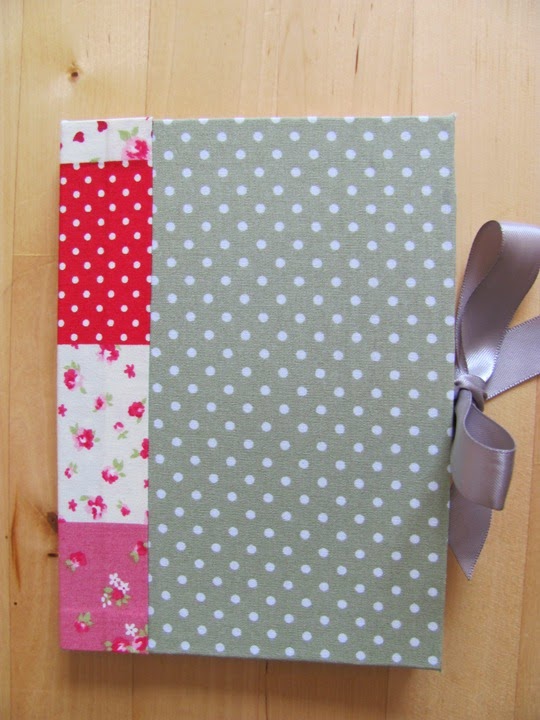
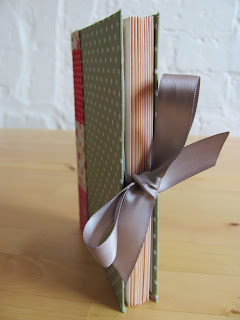
I am planning on using my envelope book for collecting ephemera and writing quotes. But there are so many uses to it; storing photos, receipts, thoughts, and so on.