December is almost here, and so is the December edition of 30 Days of Lists! I like to get things ready before hand, especially this time with the holidays approaching and things getting crazier than usual. So here we go, my listing book is ready to go and so am I!
For this edition I went a bit overboard and decided to try something new. I have previously used an A6 eco seawhite sketchbook, and embellished it with printed out daily lists, stickers, washi tape, and whatever felt appropriate for the daily challenge. This time I will be using something totally different and handmade. I have been enjoying very much making sketchbooks and notebooks lately from scratch, and this is no different. After much debating I went for an easy-to-make concertina book.
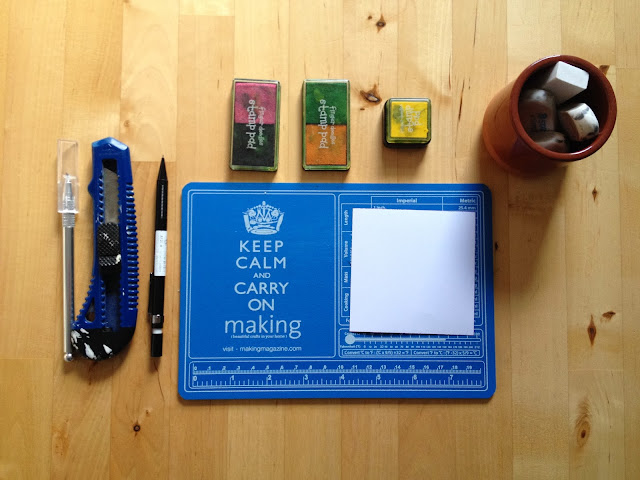
I used two pieces of 4x5in dark grey cardstock and 8 strips of 12x5in watercolour paper, each folded in 3, and attached them together with double sided tape. If you are looking at making one for yourself, check this tutorial from design sponge.

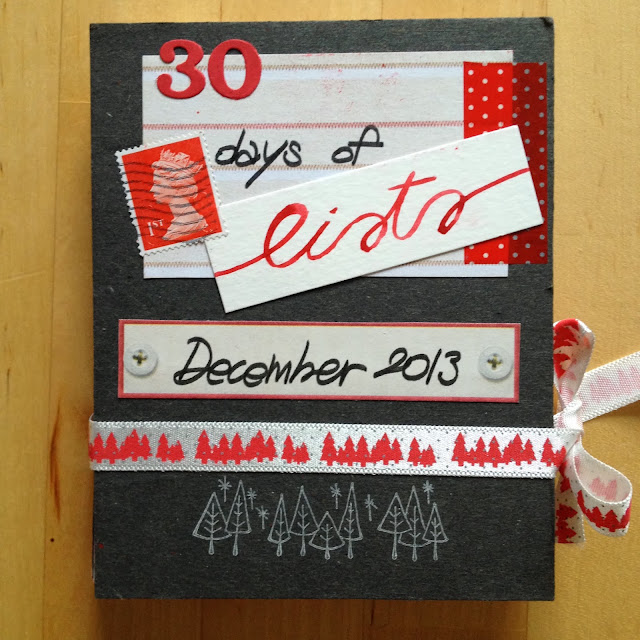
For the front cover I used a bit of everything, from some ribbon, which will also hold the book together once I’m done, to a used first class stamp, but sticking to a black, red and white colour scheme.
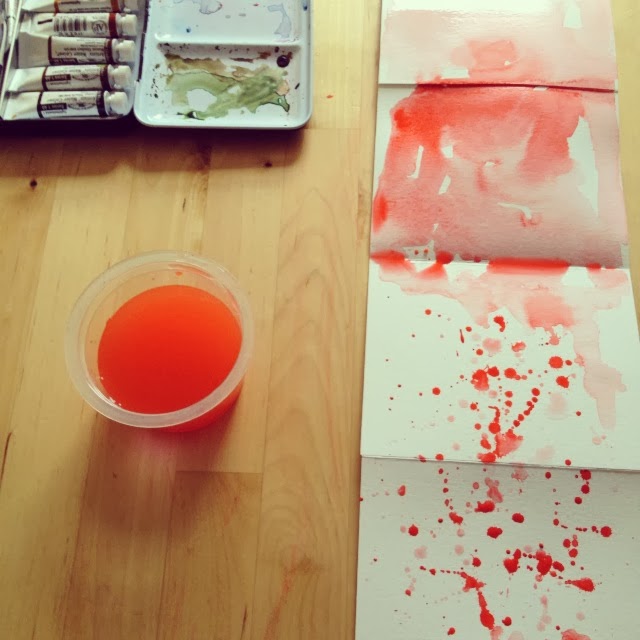
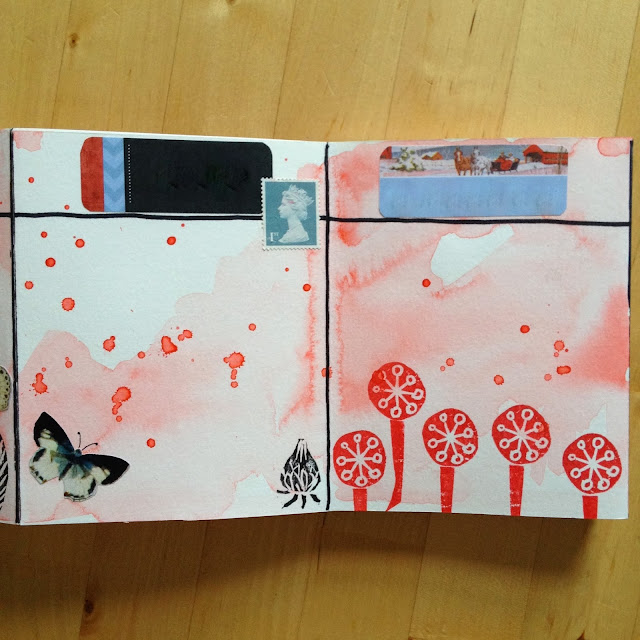
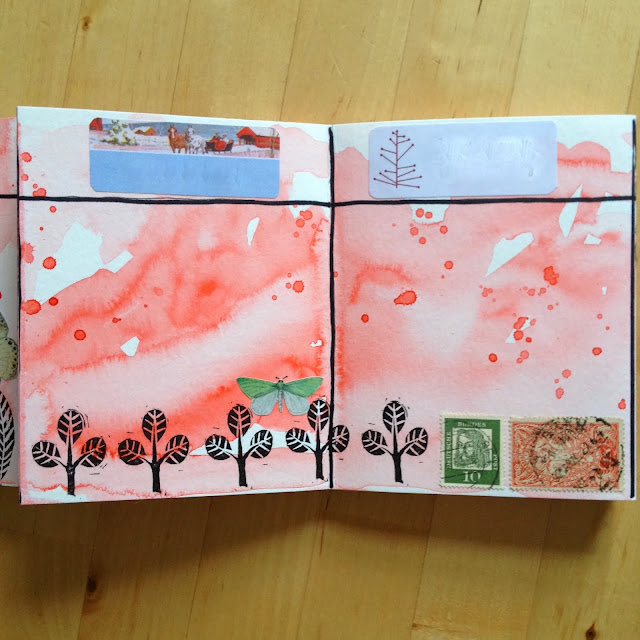
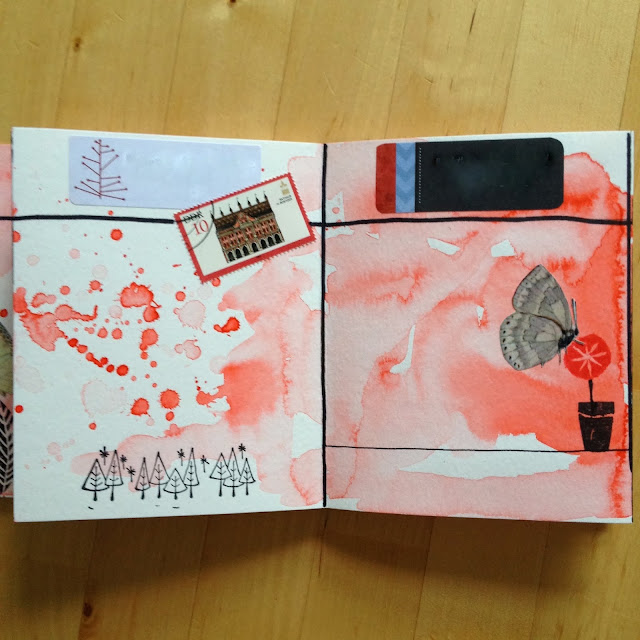
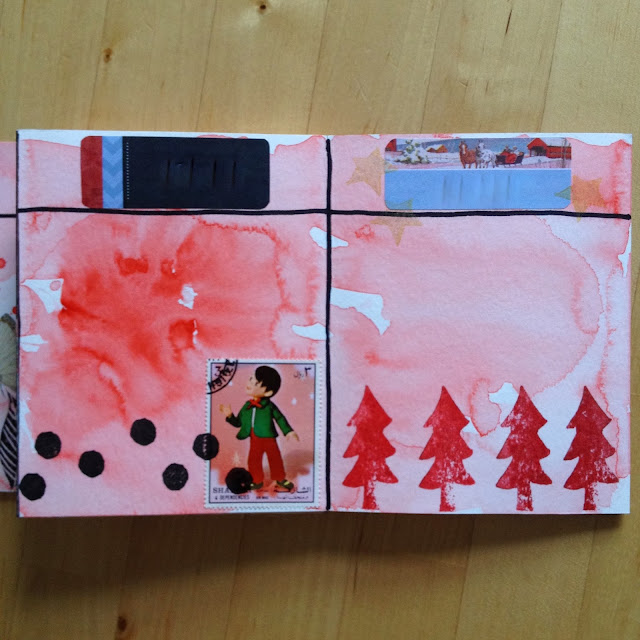
For the inside of the book, it got even more messy, but oh so fun to do! I splashed some red watercolour paint all over the pages, without giving much attention to where the colour would end up and letting it bleed in all directions.
Once dried, the real fun began!
For the daily lists, as usual, I printed out the complete list in advance. Surprises are not really my thing and although I do each list daily, I like to know in advance what’s to come.
For the daily lists, as usual, I printed out the complete list in advance. Surprises are not really my thing and although I do each list daily, I like to know in advance what’s to come.
For this December edition, I printed each title using some fillable Christmas labels from Catherine Auger (you can download them for free here). To avoid any spoilers, I deleted the titles from the pictures below, so feel free to have a look!
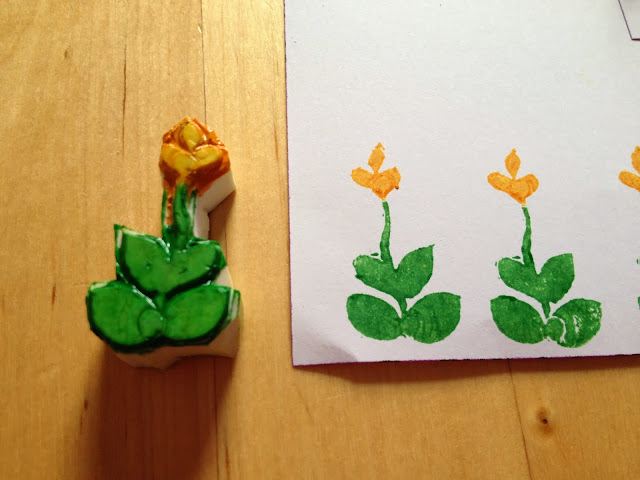
I drew some black stripes to divide pages and title areas, attached the daily titles and used some stamps, butterflies cut-outs and handmade rubber stamps to embellish each page. Here is a sneak peak of the inside of my #30lists // December edition book.
I’m planning to use a stamp for the date, as before, and maybe add some more embellishment as I go along. And I will be using a pilot G-1 0.7 for writing down the lists. Can’t wait to start listing!

/////////////////////////////////////////////////////////////////////////////////////////////////////////////////////////////////
There’s about a week left before the start of this year’s December edition of 30 Days of lists. If you want to know more about this monthly challenge visit 30 Days of Lists and have a look at all my previous related posts here. You can sign up here (it’s an affiliate link), there is still time to register!

.JPG)