29/52

Summer is quickly sleeping away, but we are trying to make the most of it. Trips to the park, outdoor playing, BBQs. And eagerly waiting for our summer holiday in a couple of weeks.
One of your favourite at the playground

This week you:

  • Wore your first pigtails. And you were very patient while I struggled to tie your hair!
  • Had fun at our friends’ house on Sunday. But didn’t played much with the other kids, I guess they were too old for you. And fell in love with an outdoor circus tent.
  • Played in the nursery playground before going in in the morning and before going home in the afternoon. Favourite toys, the police car and the kitchen units. And then we had to race to the door.
  • Ate a lot. And drank a lot of milk. And we love it when you are so good!
  • Went swimming with mama on Saturday. But all you wanted to do was staying under the shower in the changing room! And you didn’t like it much either when the other kids were splashing water at you.
  • Loved our trip to Ikea. You seriously tested all the chairs and beds in the store. And asked for chicken, chips and peas for lunch 🙂
  • Enjoyed reading out loud one of the books we picked up from the library, ‘Spot loves sports’. And we secretely laugh every time we hear you making noises and animal sounds.
  • Learned to repeat after papa: ‘BA’, ‘BE’, ‘BI’, ‘BO’, ‘BU’. And you impressed all your grandparents with this!
And from last week I’m loving Advay from The Art Side and his personal art gallery! Beautiful watercolours. 
If you are curious about this project and want to know more, you can check Jody’s blog @ Che and Fidel.
All my previous posts can be found here.

Envelope book tutorial (sort of!)

The idea of making an envelope book came up after finding a nice letter writing set at our local car boot sale. I truly cannot remember on which blog I saw an envelope book for the first time. It wasn’t long ago, and I have been looking over the internet for a good couple of days, but couldn’t find it again. Anyway, I decided to gather a few tutorials from different places, but ended up making my own version based on what I had available.
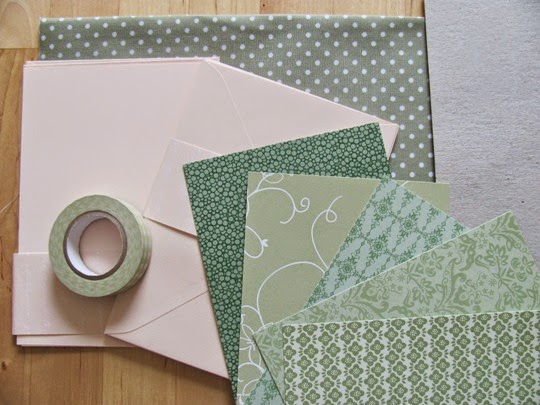
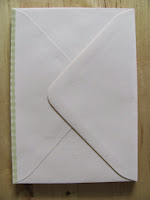
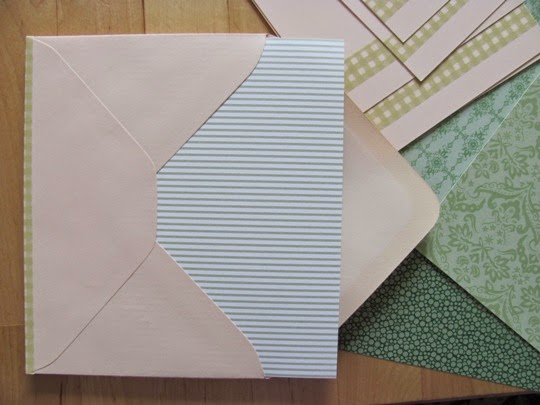
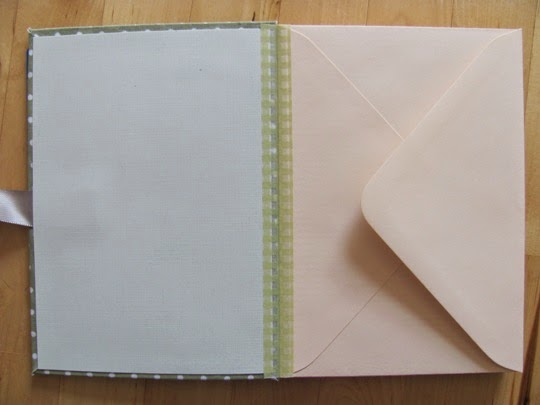
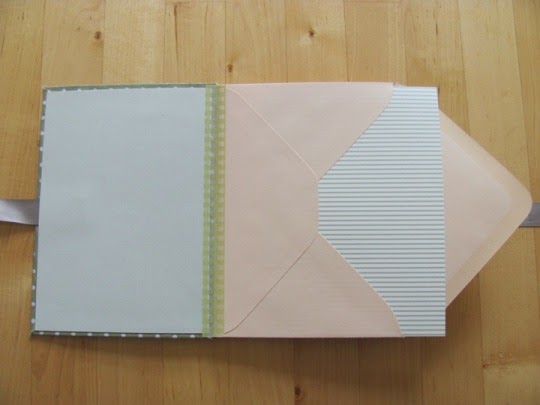
My starting point was of course the letter writing set, which included envelopes and correspondence cards all in light salmon/coral. 
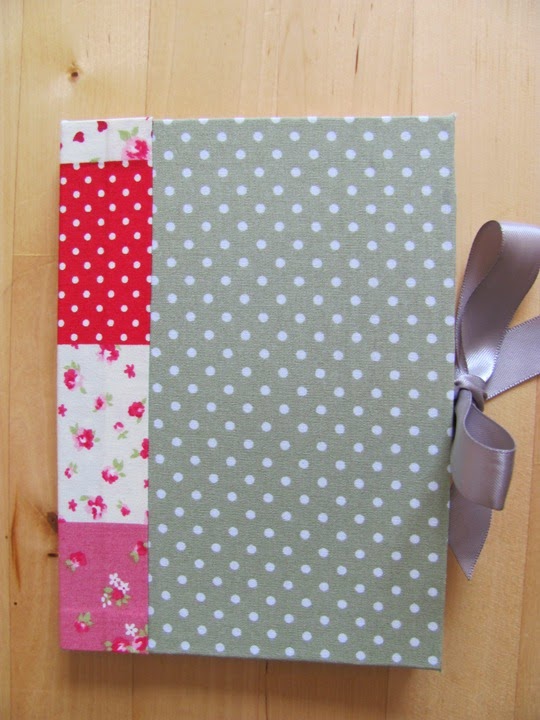
I decided to go for a green/salmon colour combination and rummaged through my stash for some matching patterned paper, washi tape and fabric.
There was some trial and error along the way, and had to repeat some steps a few times before I was happy with the results. So hopefully, this tutorial will help you avoid those mistakes and save on time and supplies.
//This is what you need//
**tools**
  • Scissors
  • Fabric glue
  • Double sided tape – 50mm for big surfaces, 12mm for smaller areas.
  • Rotary cutter
  • Cutting mat
  • Ruler

**supplies**
  • 10 A6 envelopes
  • 5 A6 correspondence cards
  • 5 A6 patterned paper
  • 13mm Washi tape
  • 2 pieces of patterned fabric – approx. 175×130 mm each
  • 1 piece of matching fabric – 70x152mm
  • 2 A6 sheets of cardboard
  • 2 A6 (or slightly smaller) sheets of cardstock
  • 2 pieces of satin ribbon – approx. 15cm each
I hope that the pictures will help clarify the instructions below.
//This is what you do//
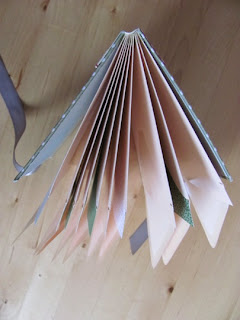
To put together the inner pages::

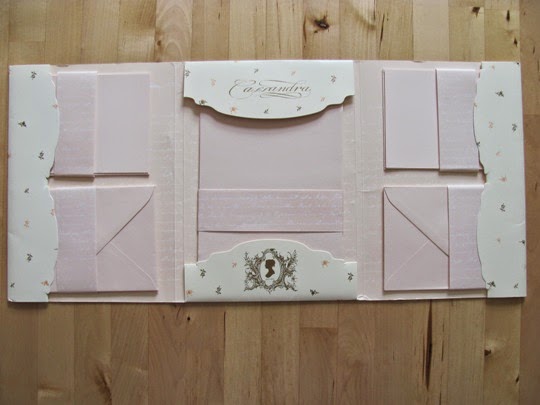
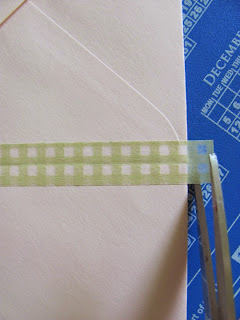
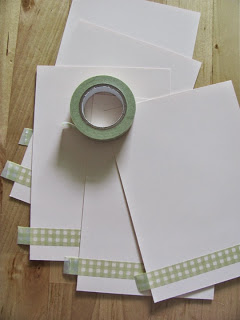
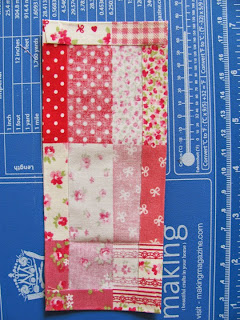
1. Bind all the envelopes together using washi tape and trimming the excess. I positioned the envelopes so that on each spread I would end up with one back and one front side. 
 

2. Cover the spine of the envelope book with more washi tape, to keep everything in place. 


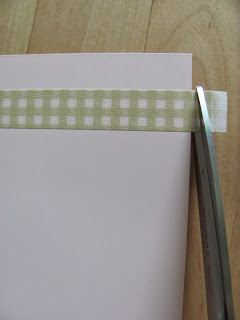
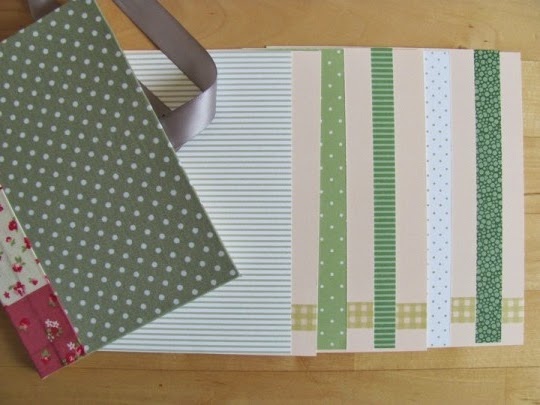
3. Add some matching washi tape to each of the plain correspondence cards. I put some on both sides and then trimmed the excess. 

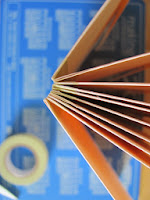
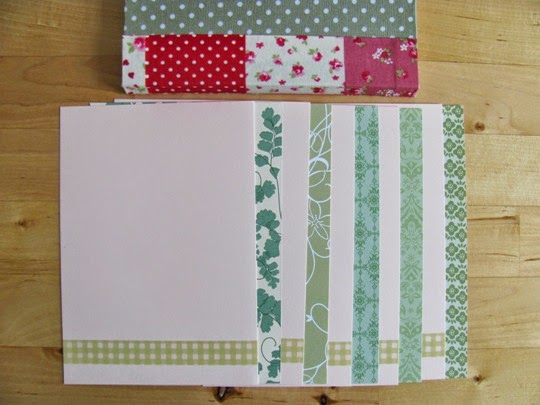
4. Fill each envelope with correspondence cards and patterned paper, alternatively. 

 
To create front and back covers::
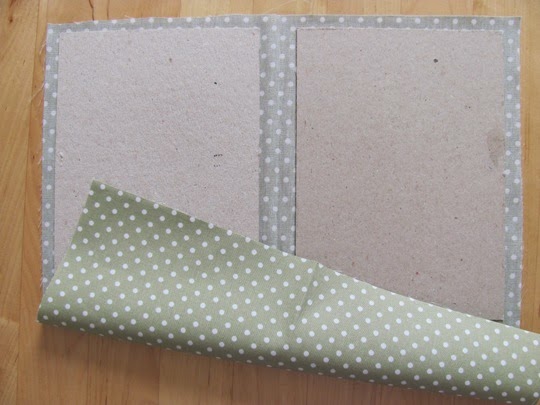
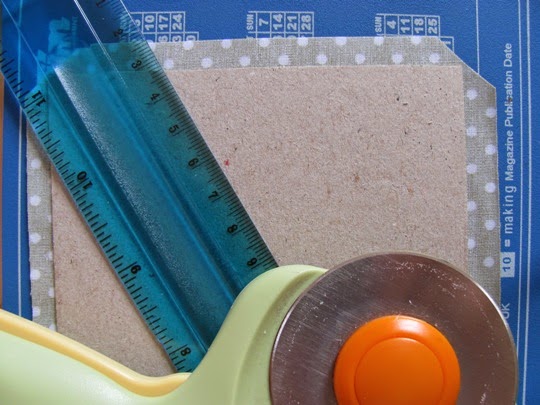
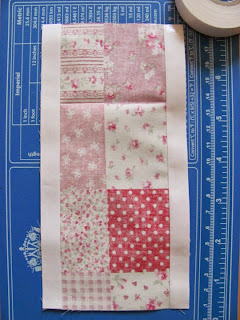
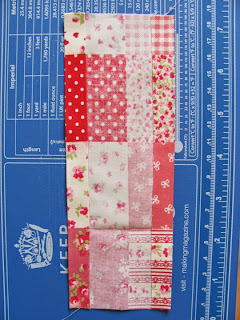
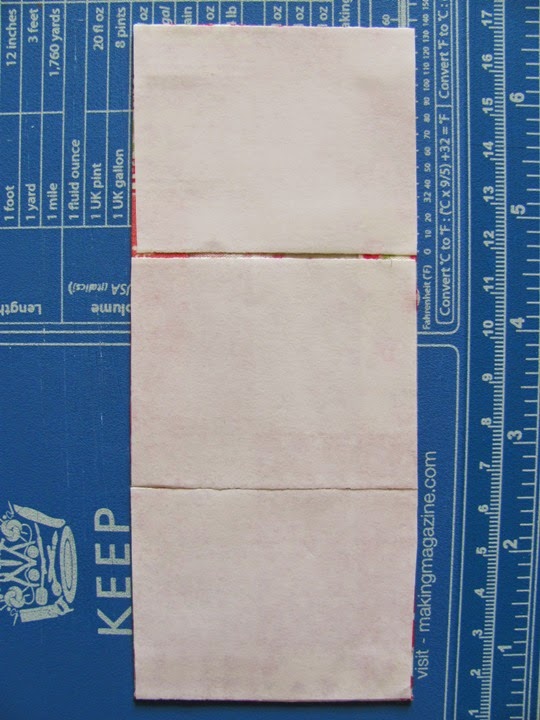
5. Glue the cardstock on the inner side of your chosen cover fabric, making sure it is roughly centred (I used one big piece of fabric, glued the two cardstocks and then cut it in half later using a rotary cutter).

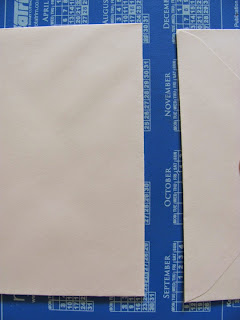
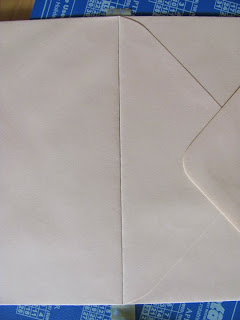
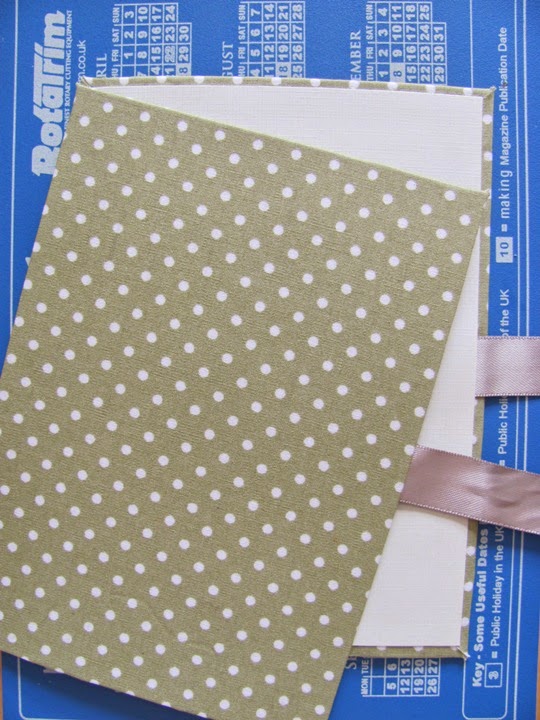
6. Cut the four corners Fold the corners (I learned this when it was already too late!), then fold the edges and glue them onto the cardstock (you can use double sided tape if it is easier). 

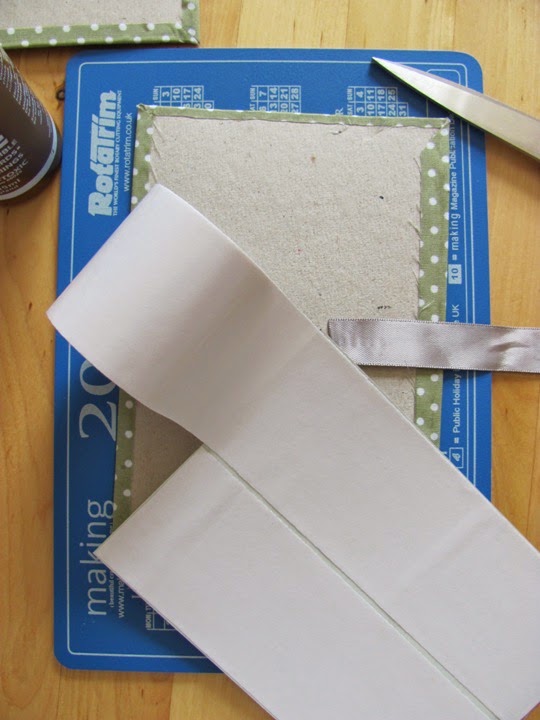
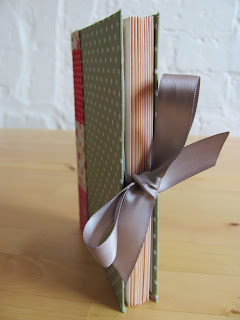
7. Place one piece of satin ribbon on the long inner side of the cover, roughly in the centre (about 2cm in). You can use some double sided tape to keep it in place.


8. Lay the inner side of your cardboard sheet with double sided tape (I used the 50mm one) and gently place it on the inner side of the cover making sure it is somewhat centred. Now press. 
9. Repeat steps 5-8 to make the other cover.
To put things together::

     10. Attach the front cover to the first envelope using some washi tape (the same way you attached each envelope to one another). Repeat the same process to attach the back cover. 

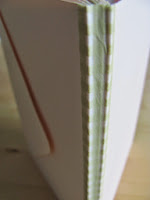
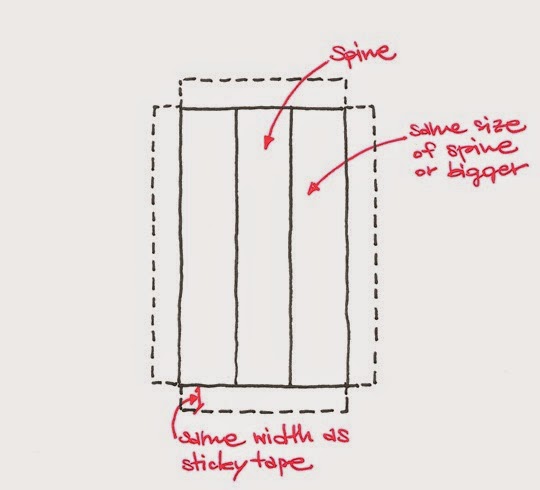
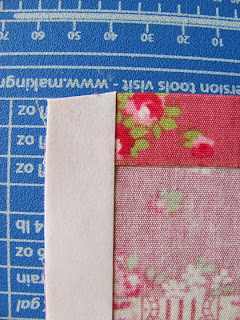
11. Measure the width and height of the spine. Cut a piece of fabric as shown in the picture below. This will need to cover the central spine and some of the front and back covers. For example, mine is approximately 1.5cm(back)+1.2cm(spine)+1.5cm(front). Remember to cut it a bit longer than the height of the book and a bit wider than the spine plus the front and back. I added about 1.2cm all around, which is the same width of my small double sided tape roll. 

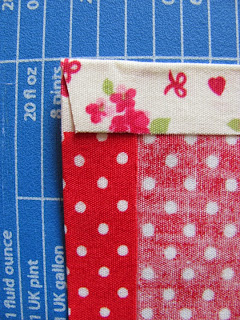
12. Lay the sticky tape on the extra fabric and fold it onto the inner side. Now the edges are secured and won’t fray. 


      13. Cover the back of your fabric, edge to edge, with the wider double sided tape.
 

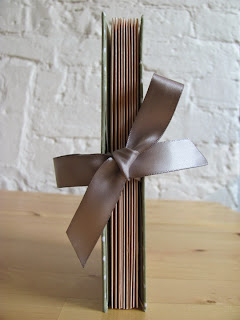
14. Adhere to the edges of the covers. I used bulldog clips to keep the covers and inner pages together while attaching the spine cover. 

And you are done!


Of course there may be better and easier ways to do this, but this is what worked for me.
I am planning on using my envelope book for collecting ephemera and writing quotes. But there are so many uses to it; storing photos, receipts, thoughts, and so on.

 
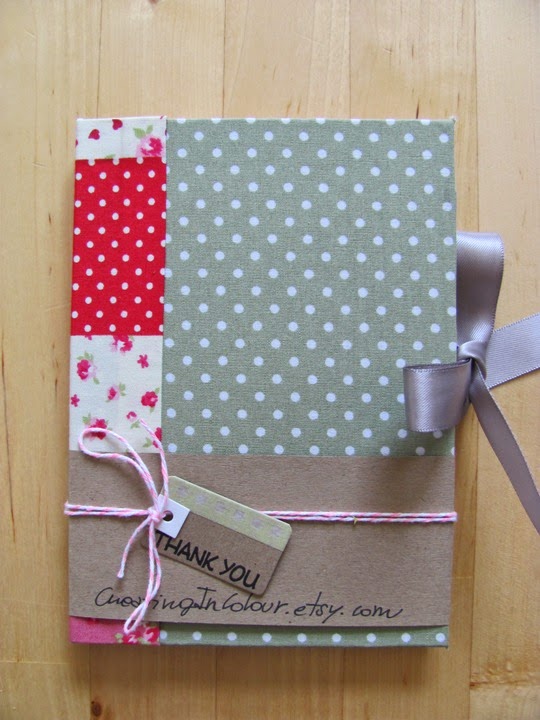
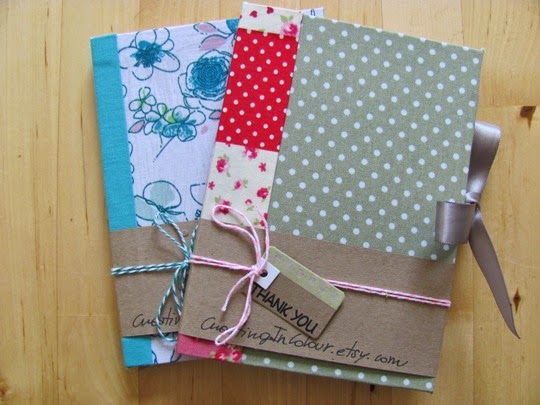
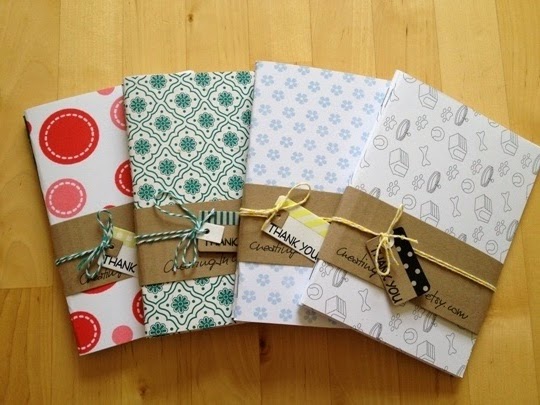
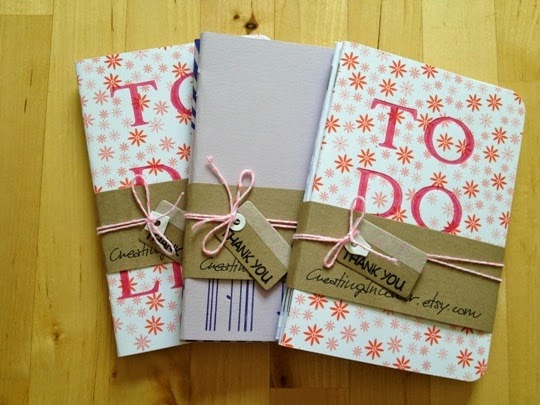
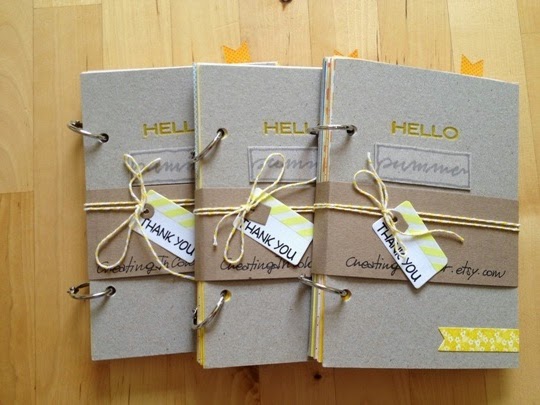
NOTE: As I ended up making two extra envelope books, these are now for sale in my Etsy shop.

Cathy Johnson’s Mini-class // Quick Sketching 1 – Lesson 4 and wrap up

It took me even more time to go through lesson 4, than to go through all of the three previous lessons. I lost focus and got distracted by so many other things lately that this mini-class got to the bottom of my to-do wishlist. But here I am, finally.

The last lesson focused on tonal values, big shapes and shadows to just give a quick impression of your subject, capturing the atmosphere without going into too much detail. And this is something I have been lacking.
Recognising tonal values has always been difficult for me. It is easier if I’m looking at a black and white picture, but when working on the spot, recognising the value of the colours has proven a real challenge. I can narrow my eyes trying to see the simple value pattern, but it doesn’t always work, especially if I’m looking at a landscape and there are a lot of colours. Doing a quick tonal sketch and adding a value scale can help, but really doesn’t solve my problem; I guess practice will improve my observational skills. In the meantime, I had the chance to test different ways to create tones using different tools and techniques.

My favourite so far is using a water-soluble pen or pencil and a water brush to dissolve the colour and create a shaded wash. Even the most boring drawing can become interesting when adding tones.
Capturing the direction of the light by adding shadows it has also proven to change the mood of a drawing. And one of the best tips I must remember is to always leave some white paper for the lightest lights.

So this is the end of the first of the Cathy Johnson’s online mini-classes! The overall course was good value for money, probably a bit too basic for me, but I am one of those people that forget things easily, so it was a good way to return to the basics and take on board all the tips given in the lessons.

I put together a summary list of all the tips that I should remember when doing a quick sketch, but also of some of the things that I discovered about my tools.
Favourite tools for quick sketching //
  • Faber-castell PITT artist pen sanguine – brush size (waterproof) + watercolours
  • Staedler fine liner 0.3 black (waterproof)
  • Derwent inktense peacock blue (watersoluble)
  • TOMBOW ABT Redwood 899 (watersoluble) brush and fine point + watercolours (THE BEST)
  • Eraser Faber-Castell

Best tips for quick sketching //

  • Consider the time available when starting a sketch – start with the big shapes and add details later on as you have time
  • Consider gesture sketching when trying to capture movement
  • See objects as basic shapes
  • Use thumbnail sketches
  • Develop your own visual symbols
  • Identify tonal values by squinting your eyes
  • Choose/identify light direction
  • Leave some white paper for lighter lights

 I am planning to start the next mini-class, Quick Sketching 2, soon, so watch out for this space!
In the meantime you can have a look at all my sketches from the previous lessons here.

More info about Cathy Johnson’s online classes can be found here.

Creating In Colour is now on Etsy

 
On 10th July 2013 I finally pushed the ‘open shop’ button on my Etsy page. I have been waiting and waiting for this moment for various reasons; fear, hesitation, indecision, but mainly because it has taken me ages to get a few items ready, the collecting, the cutting, the stapling, the photographing…between a full time job and a very active 19-month girl it has been hard to find the time and energy to do this. But I wanted to try it, anyway. I had it written down on paper a few months back and this to me has been more than a commitment, more like a binding contract with myself.
So after months of preparation, I decided it was now or never.

I have been making some jotters out of scrap paper lately, designed some ‘to-do-list’ notebooks and put together a summer journal to keep my summer memories. And all of them are now available to buy from my shop.
I’m starting small, only 14 items, but my goal in the next few weeks is to stock up the shop. Lots of ideas have been flying in my head since the shop opened; it’s just a matter of getting my head down and start to work on them.


I don’t know if and how things will evolve; I have a clear financial goal to achieve by the end of the year and I will work hard for it. But what I value the most for now is that I have been enjoying the whole process of opening the shop, from the items making, to the photographing, the text writing.
Click here and have a look!

28/52

Summer is in full swing now! And we are enjoying the sunshine, the heat, the open windows and the early morning light.

This week you:

  • Attended your first ever BBQ. And you loved it. You had fun running around our friend’s garden, playing in the pool and jumping on the trampoline.
  • You got sick in the car while we were driving to our friend’s house on Sunday, very badly. And that was a scary moment for us as we didn’t know what to do to help you. But once was over you were as happy as ever.
  • And again, you had an upset tummy and got sick during the night after. You woke up crying, but you got to spend the night in our bed.
  • Tried to go down for an afternoon nap without your dummy, but it wasn’t that easy. So we ended up borrowing a dummy from your friend for a few hours as we had forgotten yours at home, and wrongly thought we would have been fine without it! 
  • Said your first word in English! your dad was singing ‘if you are happy and you know it clap your hands’, and you replied ‘Clap, clap’ while clapping your hands. That was a proud moment for us 🙂
  • Kept blabbering so much, even during your sleep! you can only still say very few words, and all in italian, but it looks like you’ll be starting to talk properly very soon. 
And from last week a ‘happy 4th July’ from this cutie from life, love and syntax
If you are curious about this project and want to know more, you can check Jody’s blog @ Che and Fidel.
All my previous posts can be found here.