Fabric canvas art

I cannot remember how I came up with the idea of making fabric canvases. The first time I experimented with this technique was before Olivia turned 1. I was looking at making my own party’s invitation cards and tried gluing some fabric to a piece of cardboard. And that was it! I liked the process and the end results, although I didn’t use the card at the end, because I couldn’t figure out a way to scan the image properly and get it printed out on time. But that is a different story.
During the past year, I had another go at it, this time using a canvas as a background and introducing gel medium in the final process. I failed twice; first time I used too much gel, second time I tried a matt gel that didn’t quite work.


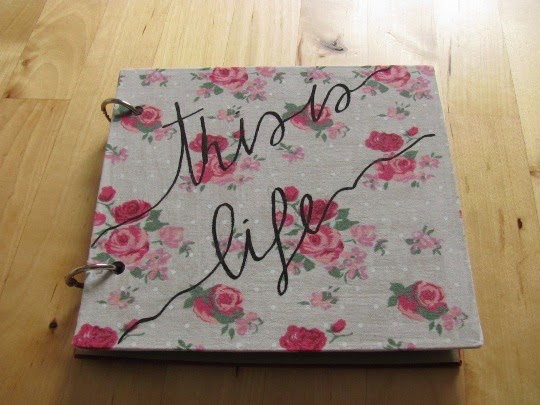
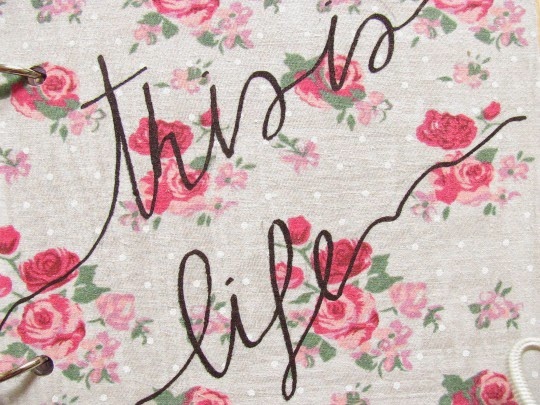
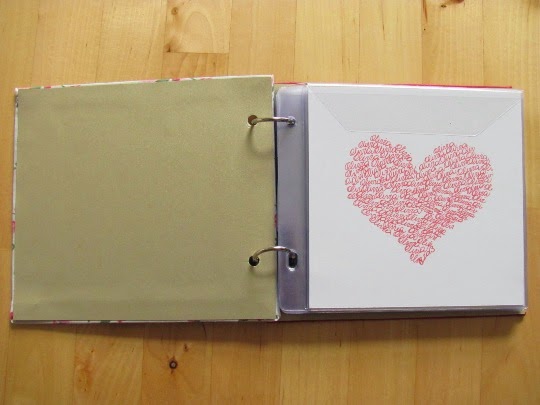
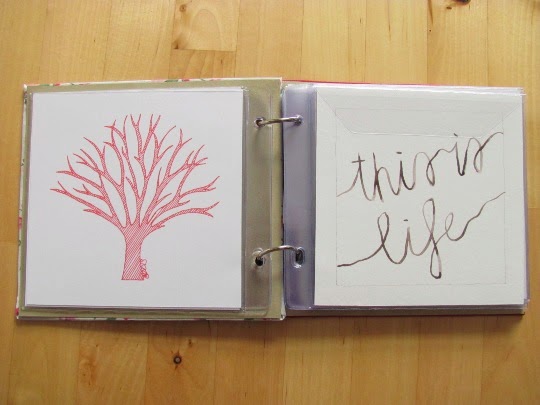
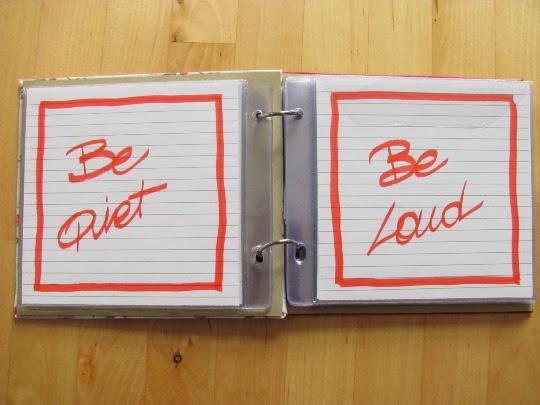
But, as they say, third time lucky, I finally managed to produce something I was pleased with. So that so, I gave it to my friend’s baby girl as a present for her first birthday.

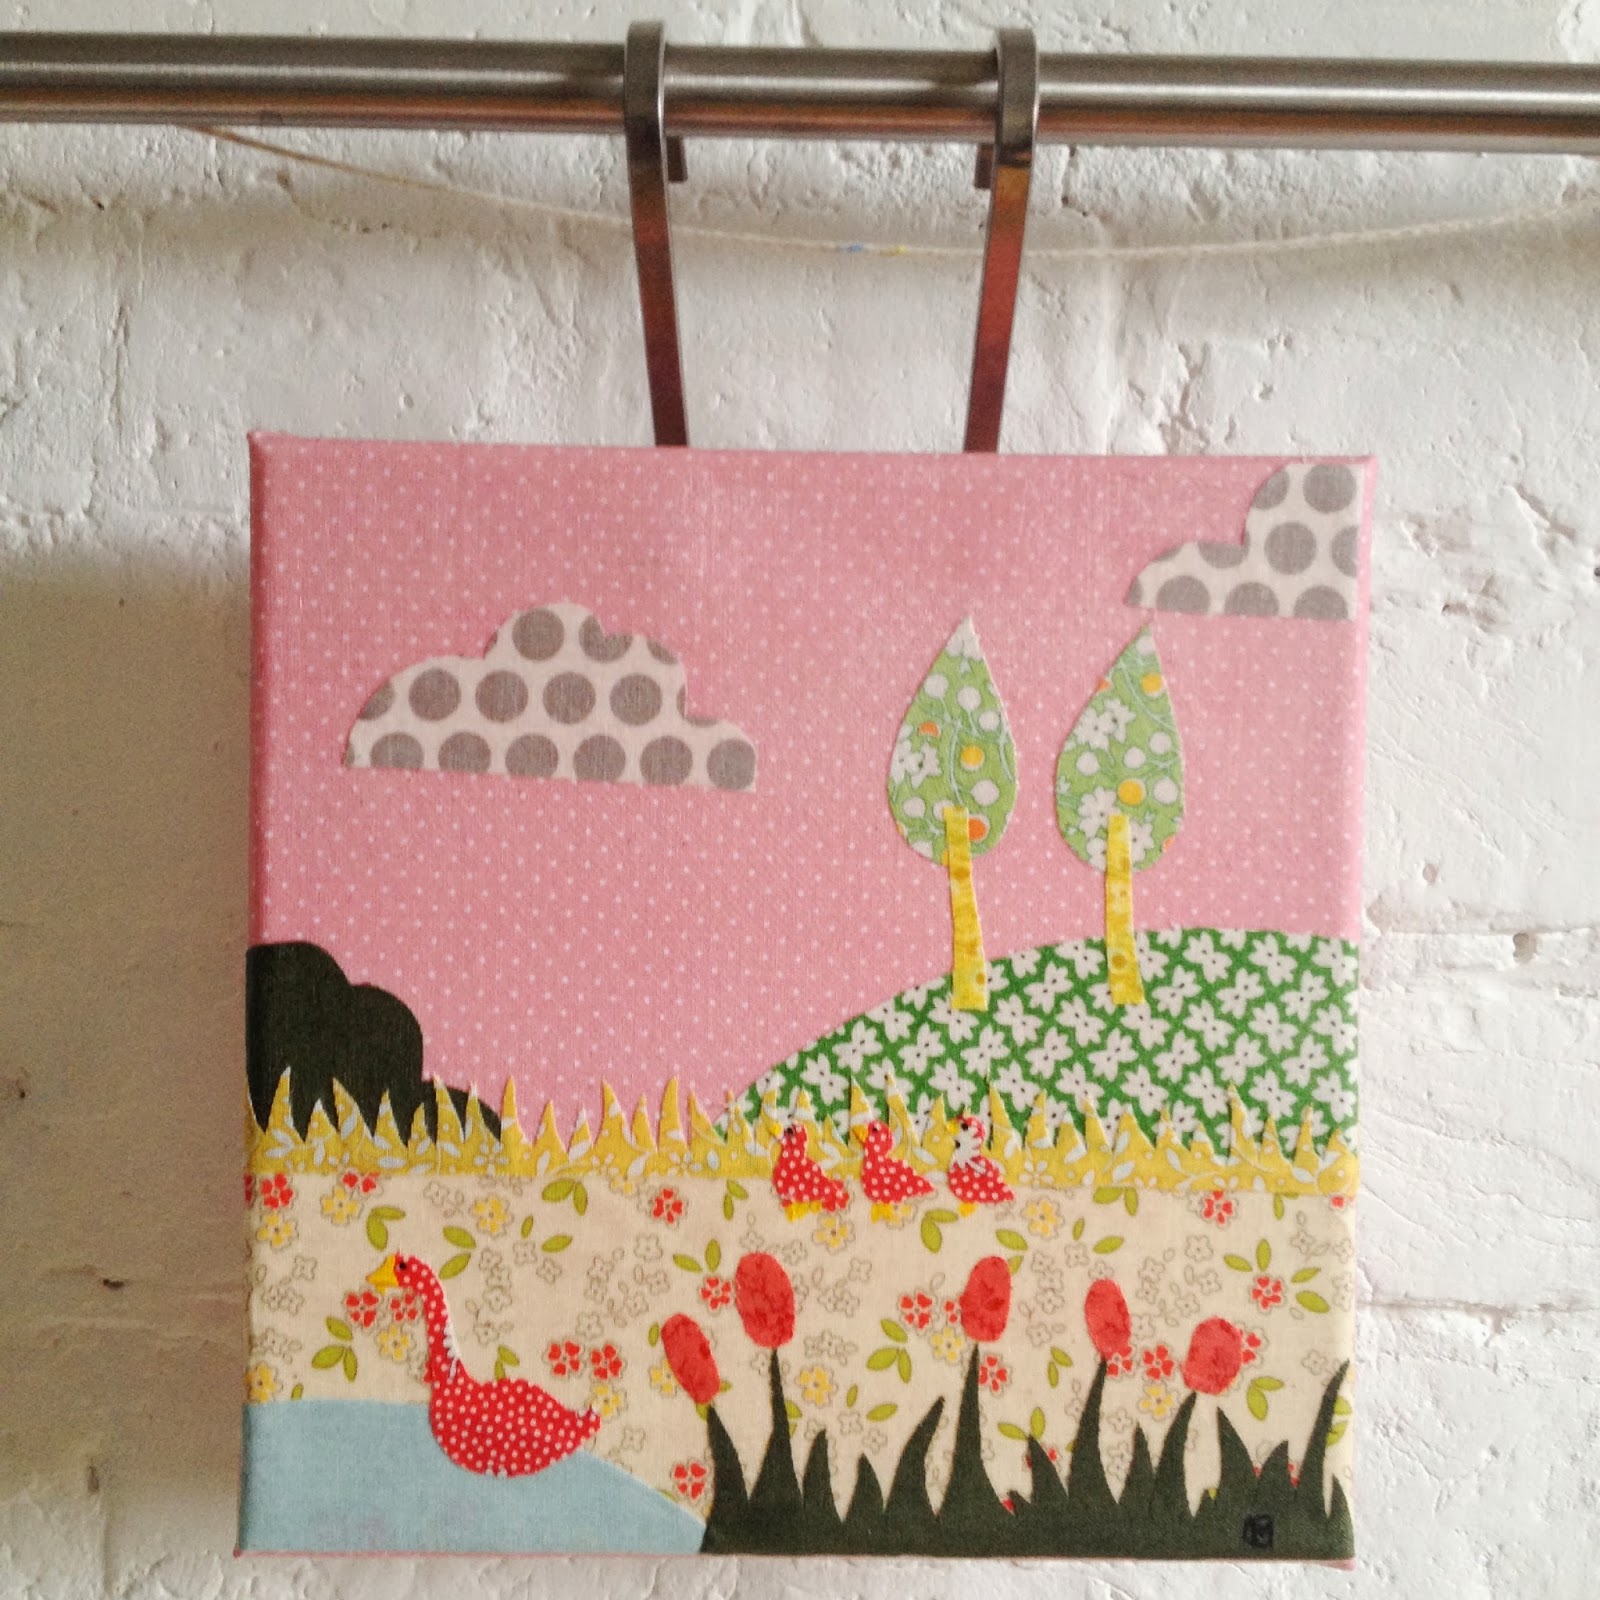
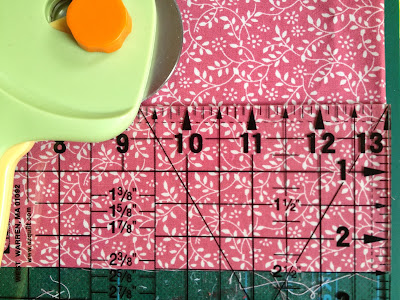
The process is a bit messy, but fun, and I’m planning to write a short tutorial on how to make a simple fabric canvas soon.

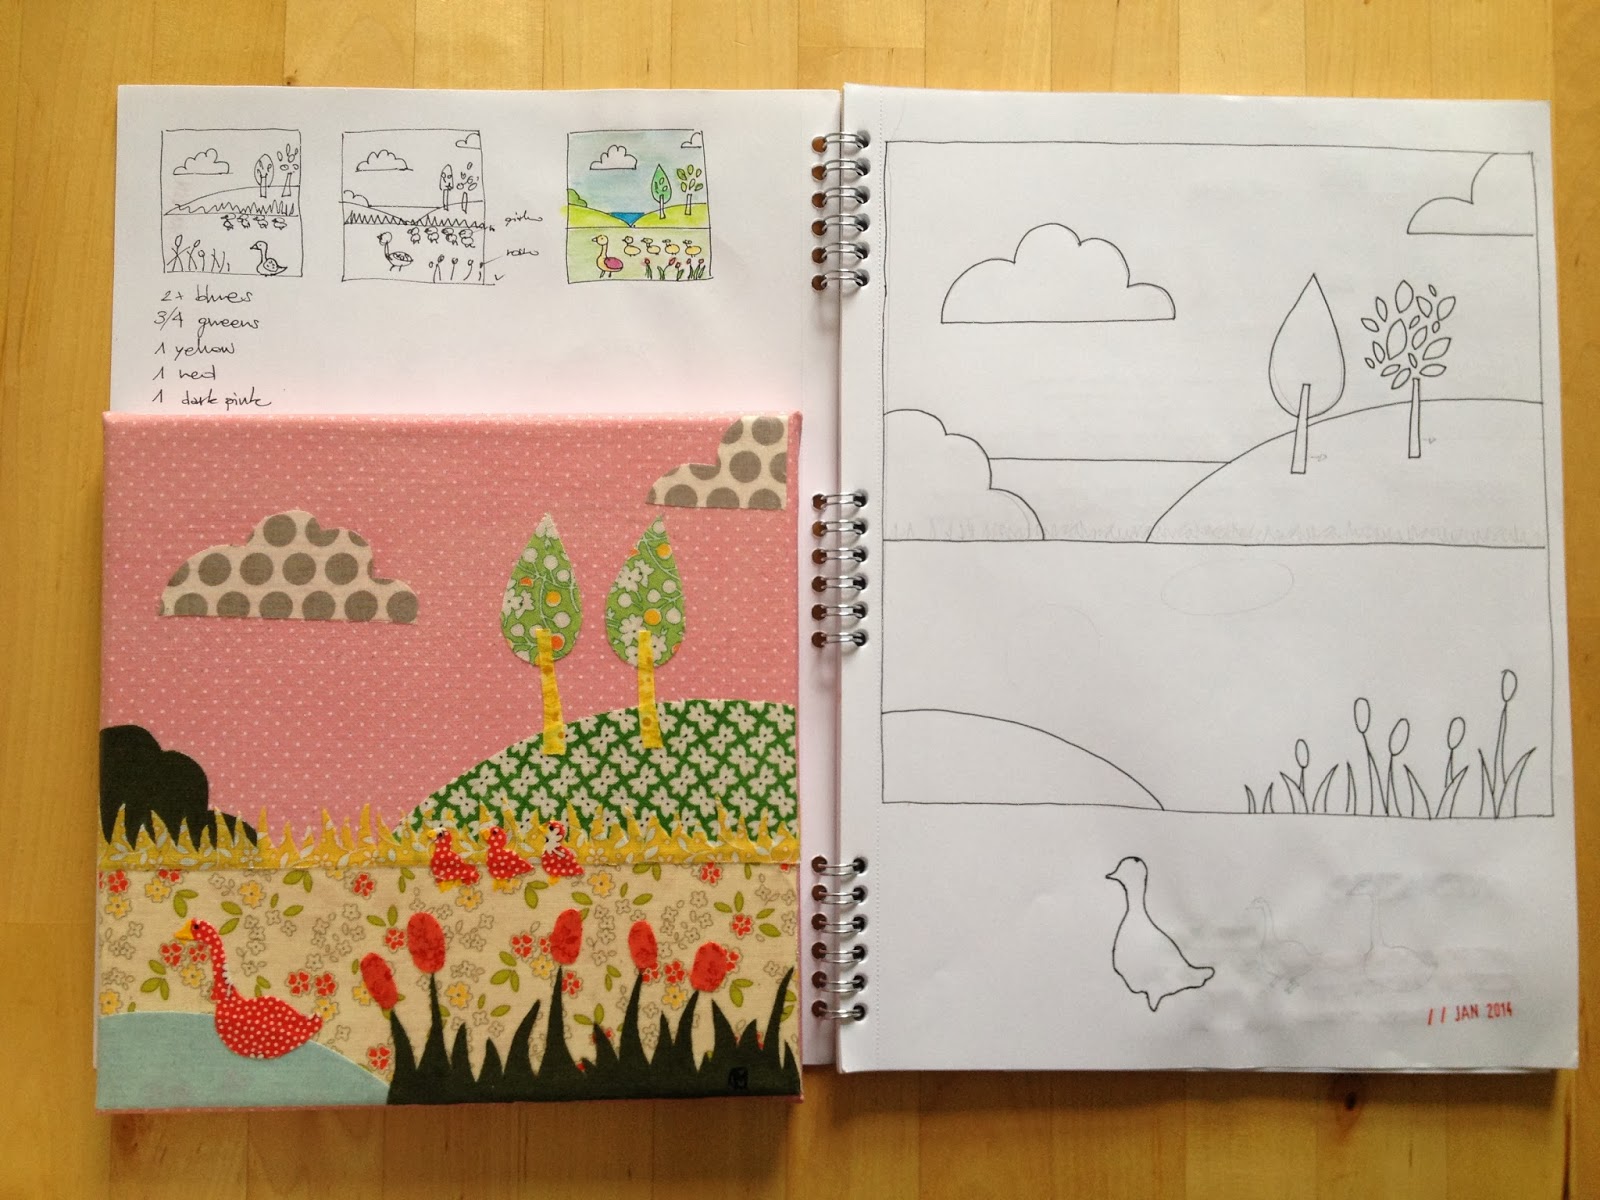
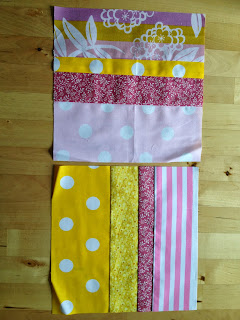
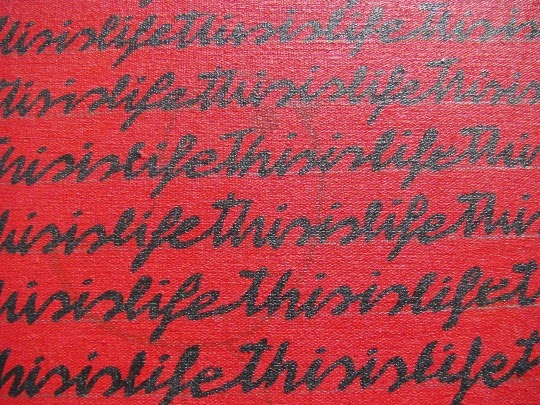
This is something I enjoyed doing very much; it combines my love for printed fabric and my inability to sew properly. And it gives me a good excuse to keep buying pretty fabric.

As I made two identical canvases at the same time (I like to work in tandem!), I’m putting one up for sale in my Etsy shop.

Notebooks addiction

I think I can easily say that I have an addiction for notebooks, any type, any make, any size. And since I promised myself not to buy any new book until I’ve completed the ones I’ve already started (which is many), I’ve started making my own. I’ve spent the past week making these two 5″ squared notebooks, using some new fabrics I recently bought at the knitting & stitching fair in London. My inspiration was the squared journal from hand.book that Jeninne Zlatkis uses for her weekly journals. And since I’m planning to document 2014 in a similar way, I made myself a 52 weeks (26 pages) journal to fill in. 
For the inside I chose some 130gsm 100% recycled paper. I bought it from a UK based company called Ellie Poo Paper and is made with post consumer waste mixed with elephant dung. It sounds gross, but the paper is beautifully textured, does not smell if you are wondering, does not contain bleaches or detergents and the paint/pen does not bleed through. I’m so impressed with it so far.

For the notebook itself, I followed this tutorial on You Tube, almost to the letter, with some very minor changes to suit my needs.
I still haven’t decided which one of the two I’m going to be using, but once I do, I will make the other one available to buy in my etsy shop. Any preference?

Simple Stripes Cot Quilt

This year’s approaching change of season has posed a dilemma in our home; should we buy Olivia a bigger sleeping bag or should we buy proper bedding, meaning a duvet, for her cot? She moves a lot when she sleeps, sometimes we found her in the morning with her head where her feet should be or, even worse, with her legs trapped within the bars on the side of the cot. Bearing that in mind, we opted for a bigger sleeping bag, and when I say big I mean 18-36 months! It’s huge; I can almost fit in it. But that made me realise that she has quickly outgrown all of her handmade blankets and quilts that we’ve used and loved so much during the past almost two (!) years. So that so, I was determined to make her a new quilt for the coming winter.

The first ever quilt I made was done from a baby quilt kit that I had bought back in 2011 (posts and link hereherehere and here). I did make a few changes, like the colour scheme and the appliques, but the basic instructions were pretty much followed.
For this new and bigger quilt, I’m going more freehand. The pattern I have chosen is very simple and I got inspiration from Diary of a Quilter by Amy Smart. Her tutorials are so very well written and easy to follow. The one I picked is a simple stripes quilt tutorial (here). As tradition demands, I only used the tutorial as a general guideline.
First of all, I had a few scraps of fabric from previous projects. I put together the ones that I thought could go well together and quickly realised I didn’t have enough of them to make a cot quilt. So off I went to our local fabric store for some shopping.

I picked a bundle of 4 fat quarters in matching spots and stripes fabric in yellow and pink, 120x200cm of flowery fabric in a dark antique pink for the backing, the binding and some of the front stripes, and 150x150cm of wadding.

Because I’m always afraid I will not have enough fabric, or more likely I will make a mistake, I picked a bit more than needed. The idea was to make a 120x100cm cot quilt, but ended up with a 125x105cm quilt.
Overall I used 9 fat quarters each of which was cut in 4 equal pieces. I then cut 4 stripes out of each: 4cm, 6cm, 8cm, 10+cm. And rearranged them, varying the pattern, to make a total of 30 blocks (with 6 blocks to spare…just in case!)

The initial design was to use vertical strips for each block, but after a laid out the entire quilt, I didn’t like the overall effect. And also realised, mistakes and imperfections would have shown more this way. So I went for a vertical+horizontal arrangement (as shown in the hand drawn picture below).
Then the fun part began! The sewing of each block was done following the pattern: 8cm+4cm+6cm+10cm. The best trick I learned from professional quilters was to try and be consistent with the seam allowance. In this way, errors and imperfections are minimised. I used a 1/4″ seam allowance, using the outer edge of my pressere-foot as guidance. Once the blocks were sewn, I squared them using a square template I cut from a sturdy brown paper sheet and ironed each block, making sure the seams were pressed in the same direction.

Once all the blocks were sewn, I arranged them in a 5×6 matrix, varying their position (vertical and horizontal), and also with seams pressed in alternating direction, for a smoother finish.


Once the top layer was ready, I sandwiched the batting between the top and the bottom and pinned the edges. As a note for next time, it would have been easier to used some washable spray adhesive to keep all the layers in place considering the size of the quilt.
Due to my inexperience and the simple features of my sewing machine, I went for a simple quilting pattern: crossed diagonal lines.

After sewing everything together and trimming the excess from each side, I started planning the final and most difficult step, the binding. Initially I wanted to directly use the fabric from the back (folding the excess to the top and sew it), but it wasn’t enough to do that. So I went for a simple machine binding technique using the same fabric I used for the back. The steps to do that are beautifully explained here, and this time I followed the instructions thoroughly.

The result is a beautiful, although imperfect, cot quilt which my little loves (she did pick the fabric with me after all!). 

Cold nights we are ready!

5″ x 5″ series

It all started a few months ago, on a day I was feeling not so positive and needed to boost up my mood. I had paper with me and a red highlighter. I started to draw squares and to write and draw stuff in them. And so it began, my 5”x5” series. I started to experiment with different types of paper; watercolour, Bristol, ruled and cartridge, and different pen and pencils; highlighters, markers, fine liners, watercolours. And I liked the idea of building up a portfolio. I started to search online for the perfect folder, but I couldn’t find anything I liked. The size of the cards is actually the same of a CD player, but the sleeves mostly available are those with a paper backing and a v cut on the front; and really don’t like those. So I ended up buying a bunch of plastic sleeves with flaps and hole punches, and to keep them together I made my own cover. I used two thick cardboards and cut them slightly bigger than the cards. I then used some scrap fabric which I glued on the two cards and some heavy gold paper to finish the inside. I covered the fabric with a thin coat of clear gesso and, once dried, I used a black permanent marker to write on it. I didn’t like how the back cover had turned out, so I had to make some adjustments. I painted the back with some red acrylics, waited for it to dry and then wrote on it again. I then hole punched the two covers and used two ring binders to hold everything together. I love it! 
Front and back covers
Red fineliner 0.5 on bristol paper and watercolour on watercolour paper
Red highlighter and black permanent marker on ruled paper
Blue higlighter on 4″ blank paper
Red fineliner 0.5 on bristol paper (5″x3″)
Lino cut ink print 
I am having so much fun drawing/writing in these 5″ squares that I am planning to experiment a lot more with these and to expand the collection. And also thinking of framing some of these cards using a square black or white frame. 

And it’s done!

The pram throw quilt for my baby girl is finally ready! lot’s of room for improvement though. I’m thinking of writing a quick tutorial, so I don’t forget the all process! I bet it will pass sometime before I tackle another quilt project, but I loved the experience.